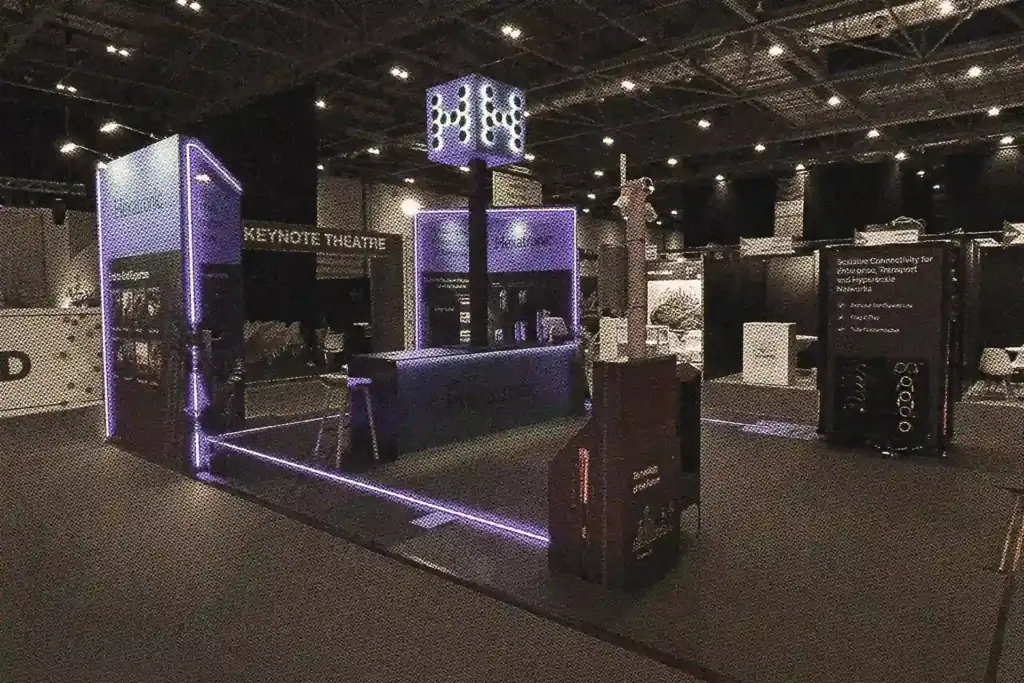
A visitor makes two decisions at your stand, and design controls both. The first is whether to look, and the second is whether to step on. Exhibition stand design is the work of winning each one in turn, and this guide follows the order our designers work in, from first brief to opening morning.
You know the stand with the strong product and the quiet floor. Then there’s the brief that gets rewritten because nobody asked what the stand was for. And everyone has met the render that looked right on screen and felt wrong in the hall.
Those problems come from decisions made in the wrong order. Exhibitors who design from the floor plan outwards avoid the pattern, and each section below takes one decision in turn.
What exhibition stand design covers
Exhibition stand design is the planning of your branded space for one show. It covers layout, structure, graphics, lighting, furniture and technology, drawn up as 3D visuals and signed off before anything is made. After sign-off we freeze the design and production starts, so every decision in this guide belongs before that point.
Two limits are worth knowing early. Design can’t fix a brief that was never written, and closing the sale is your team’s job. The stand earns the conversation.
So what changes when your plot type changes?
Shell scheme or space only
Your plot type sets how much freedom you have. A shell scheme stand comes with walls and a fascia, so the gains come from graphics and lighting. On a space only stand, the floor is bare and every decision is yours.
Open sides and position matter on both. Corner and end-of-aisle plots catch more footfall than a dead-end spot, and an inline plot gives you one face to the aisle, so that face carries the whole stand.
Whatever the plot, a designer can’t draw a line until 8 facts are on the table.
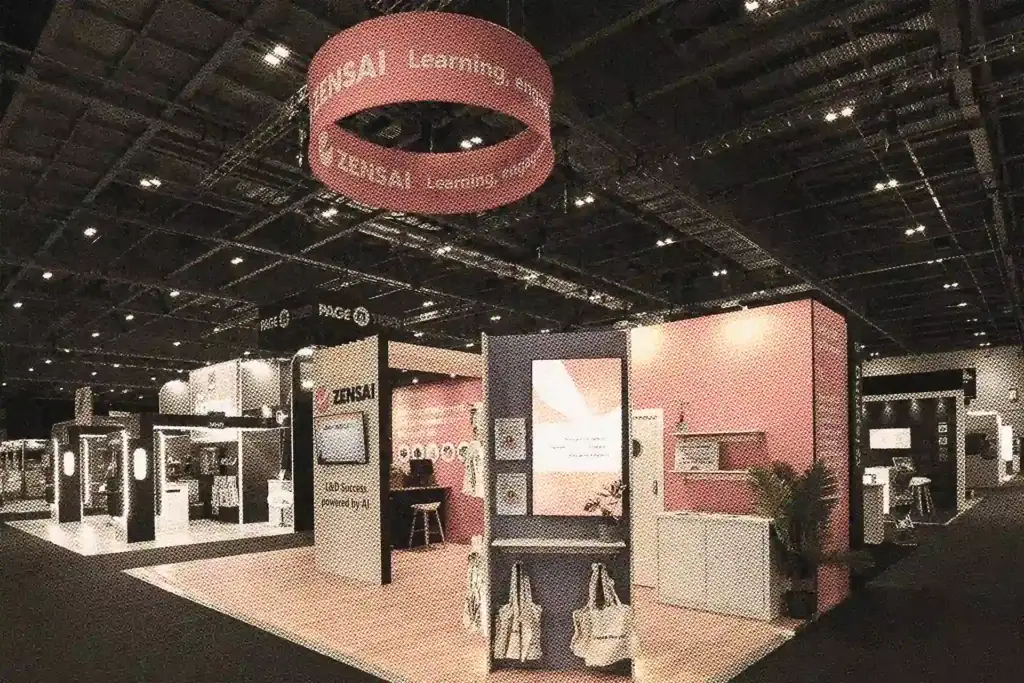
What goes in an exhibition stand design brief
A designer needs these 8 facts before drawing anything:
- Show name, dates and venue
- Stand number, size and number of open sides
- Who your neighbours are, if the floor plan shows them
- One objective with a number attached
- The visitors you want to attract and what they care about
- Must-have items such as products, plinths, storage and a meeting area, kept apart from your mood references
- A budget range
- Brand guidelines and logo files
Write the objective as a number. 15 booked meetings tells a designer to include a meeting table away from the aisle edge. “Raise awareness” gives them nothing to draw.
Design for the visitor you haven’t met. CEIR research finds that 67% of attendees are prospects the exhibitor hasn’t reached before and 81% hold buying authority, so the stand has to explain itself to a stranger with a budget.
Give the budget range early. It decides which tier fits, and our stand brief template puts all 8 facts on one page.
The number in your brief shapes the very next decision, which is the floor plan.
Start with the floor plan, then the brand
Layout drives every other decision. Note which sides open onto aisles, because open sides decide where visitors approach and where your team stands. A working stand needs 4 areas: a welcome point near the aisle, a place to show what you do, somewhere to talk and somewhere to store things out of sight.
Our designers keep roughly 60% of the floor open. Less on the floor makes a stand easier to enter and easier to work. Keep the aisle edge low, put the conversation area toward the back and set furniture back from the front, because a counter across the aisle edge reads as staff only.
Match seating to the objective. A stand built for booked meetings needs a table and chairs that suit a 20 minute conversation, and one built for quick demos needs standing height surfaces.
Layout settled, how does the stand get noticed from across the hall?
Height & sightlines
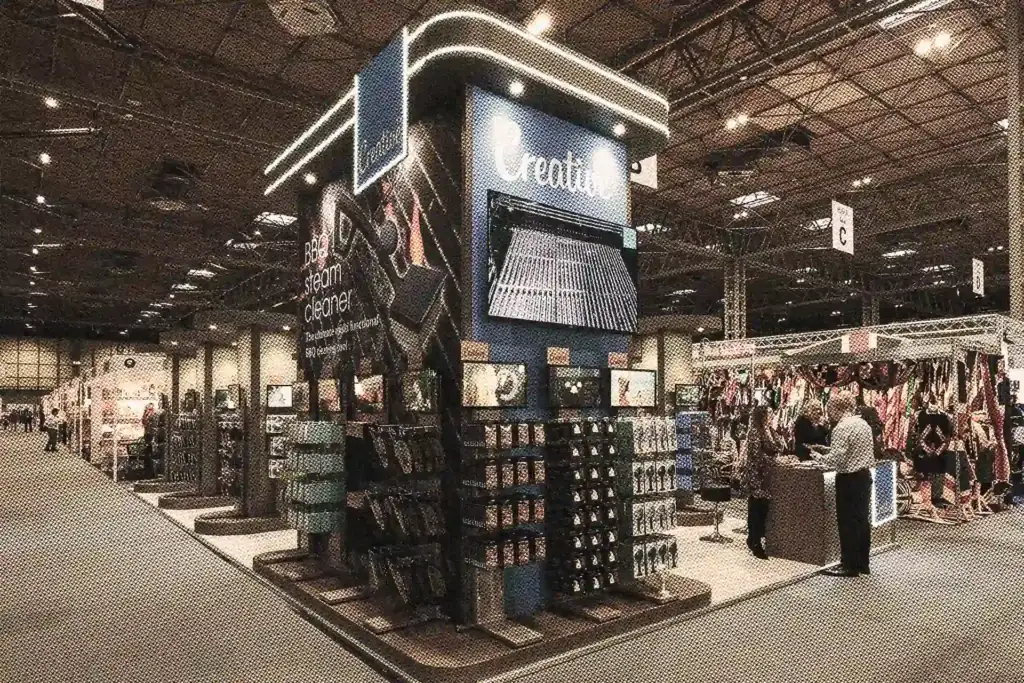
Go up to the maximum height your show allows. Height gets you seen over neighbouring stands, and a raised header puts your name where it carries furthest. Limits are commonly 4 metres, rising to 6 metres or more with organiser approval, and hanging signs need venue approval, typically submitted 6 to 8 weeks before the show.
Sightlines decide what visitors see first. Stand in each aisle on the approach and look at your plot: the first thing you see should be your name and one image.
Lighting directs attention. LED lights almost every stand we design now, built into the structure so it holds up under show hall lighting, and it lets you pick out one wall or one product.
Colour that holds up under show hall light
Show halls mix daylight and spotlights, and each one shifts how a colour looks. A palette that works on a monitor can look flat on the floor, and even a good render can’t predict hall lighting, so ask for a printed sample before sign-off.
Pick a hero colour from your brand palette and use it where you want the eye to land, such as the header or a feature wall. Dark palettes need a warm timber or a light surface, so the stand doesn’t read as a block from the aisle.
Graphics & imagery that read from the aisle
Graphics need artwork made for large-format print. An image that looks sharp on a phone goes soft at 3 metres wide, so send the highest resolution file you have, plus a vector version of your logo.
A visitor in the aisle reads one headline. Make it say who you help and what you do for them, and leave space around it. Test it before print by printing the main elevation at A3, pinning it up and reading it from 3 metres. In the hall, aim for a headline that reads from 8 metres.
Once the stand is being read, how do you keep visitors on it?
Engagement features that earn their space
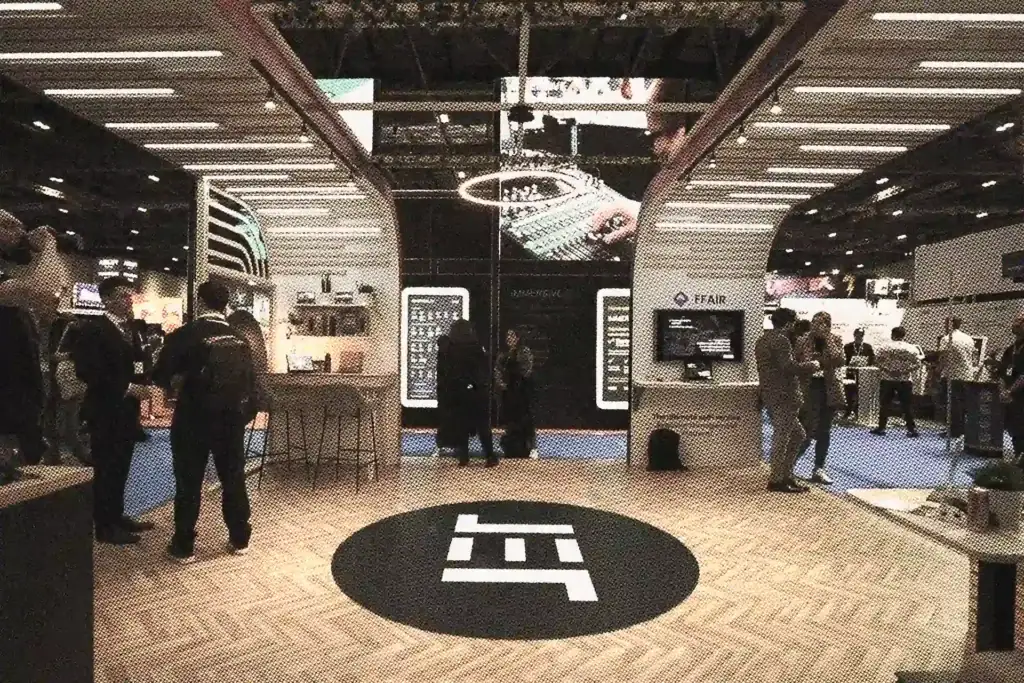
A feature earns its space when you can name the conversation it starts. Demonstrations suit physical products, touchscreens suit complex ranges and games suit footfall and data capture, though a game with no link to your product draws a queue and no leads.
Plan the practical side at design stage. Features need power and cable routes, plus room for a queue that doesn’t block the aisle, and a noisy feature needs directional speakers to keep the sound off your neighbour’s stand.
Materials that last & waste less
Durability decides most of our material choices. Acrylic is out for any stand meant to be reused, because it scratches and marks. Chrome has gone from the stands we design, and warm timber has taken its place.
We use FSC and PEFC certified timber wherever we can, and we’ve reached Tier 5, the highest level, in the ESSA Sustainability Accreditation. Our packages and structures are hired, so materials go back into use after your show, and crafted pieces made for you stay yours, kept by you or stored by us for next time.
Accessible design from the first sketch
Step-free routes and wide turning space are standard in our layouts, and they cost far less at floor plan stage than when they’re fixed later. Include a lowered section of counter and keep screens within comfortable reach. Leave clear floor space around seating.
Quiet areas for neurodivergent visitors are something our designers are paying closer attention to.
5 trends keep turning up in the briefs we receive.

Exhibition stand design trends worth knowing
Trends date quickly, so this list covers what we see in briefs and on our own stands.
- Warm timber has replaced chrome as the finish that feels welcoming.
- Lounge-style meeting areas are taking floor space from product displays.
- Brand-first, reconfigurable designs flex across shows, so one design language carries from a 9 sqm stand to a 32 sqm one.
- Clients arrive with AI-generated or agency concepts and ask for pricing.
- Sustainability has moved from a talking point to something buyers ask about.
One trend deserves caution. Virtual reality works when the product is too large or complex to bring to the hall, and it looks like a gimmick when it isn’t tied to a clear purpose.
Whatever you choose, how do you check it before it’s made?

See the stand in 3D before it’s built
Our designers produce 3D visuals during design, so you can check sightlines, layout, lighting and graphics before print. A LITE visual takes under 2 hours, READY around 2 hours and a CUSTOM design 1 to 2 days. Expect two rounds of revisions on structure and layout, and more on graphics, because approvals pass through several people in turn.
Look at the approach from the aisle as well as the front-on view, because the first 3 metres are where your visitors decide.
Check these before you sign off the design
Sign-off is the last cheap moment to change anything. Run through these 8 checks first:
- Read your headline on the 3D visual from the aisle view.
- Confirm which sides open onto aisles and where visitors will approach.
- Check storage, power and screen positions against your must-have list.
- Confirm the height limit and any venue rules on rigging.
- Trace a step-free route from the aisle to the back of the stand.
- Confirm every graphic file is high resolution and the logo is a vector.
- Ask for a printed sample of your main colour.
- Check the budget against the final specification.
After the show, compare the result with the number in your brief.
Take the planning checklist and brief template with you
Our exhibition planning checklist walks you through the pre-show planning, and our stand brief template puts everything you need for a solid brief in one document.
So who should draw the stand?
Separate designer or one team doing both
There are 2 routes to a designed stand. An independent designer or agency suits stands that sit inside a wider campaign or a rebrand, because they carry the brand thinking across channels. A team that designs and builds under one roof puts designers who work with the structure every day next to the people who make it, which removes the handover between drawing and structure.
Each route has a limit. An agency’s design still has to be built by someone, and a design and build team works within its own system, so ask what that system can and can’t do.
At Rocket-X, design, build, installation and dismantle happen in-house, at venues across the UK and for shows abroad. If you arrive with an agency concept, we’ll build from it and tell you what the structure and the venue allow. A project manager runs the project once the design is signed off, and you can read how on our exhibition project management page. We’ve spent 15+ years at it, 98% of exhibitors recommend us and 84% rebook.
Which route fits your show calendar and budget?
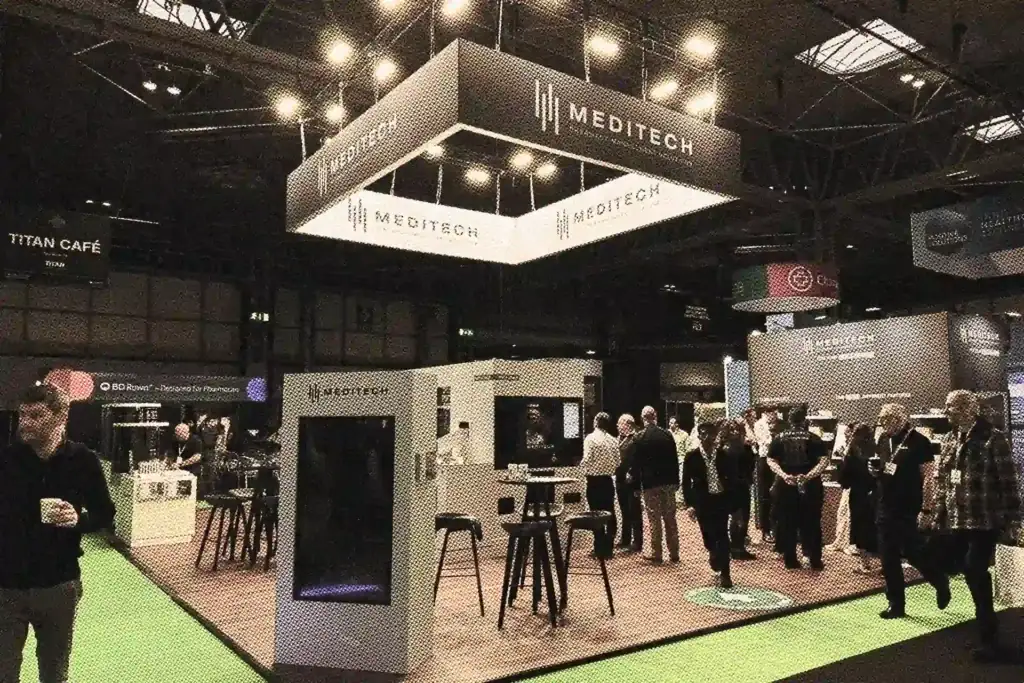
Choose how the stand is designed and built
| Route | Best when | From |
| LITE shell scheme | You exhibit at shell scheme shows and want a fixed price | £2,995 |
| READY space only | You have a space only plot and want a considered design without a full commission | £8,995 |
| CUSTOM | The stand needs to be built around your brief | Quoted |
Send us your show name & stand size
Design time is the first thing to disappear. Space only projects often need 12 to 16 weeks, and CEIR research finds that only 28% of exhibitors start planning a show’s marketing more than one to two months out. A late brief means fewer rounds of changes before print deadlines and fewer slots on our production schedule.
Send the show name and your stand size. We’ll tell you which tier fits, whether your timeline works and what we need from you first. Get in touch today.